This is an old revision of the document!
How to record and export track
Track recording feature is available only in GPX Viewer PRO. So this how to won't work in free version of GPX Viewer.
Below are steps describing how to record and export track in GPX Viewer PRO:
- First off you need to start GPX Viewer PRO.
- Ensure that GPS is enabled on your device.
- If you have Android 6.0 or higher ensure also that GPX Viewer PRO has permission for location granted.
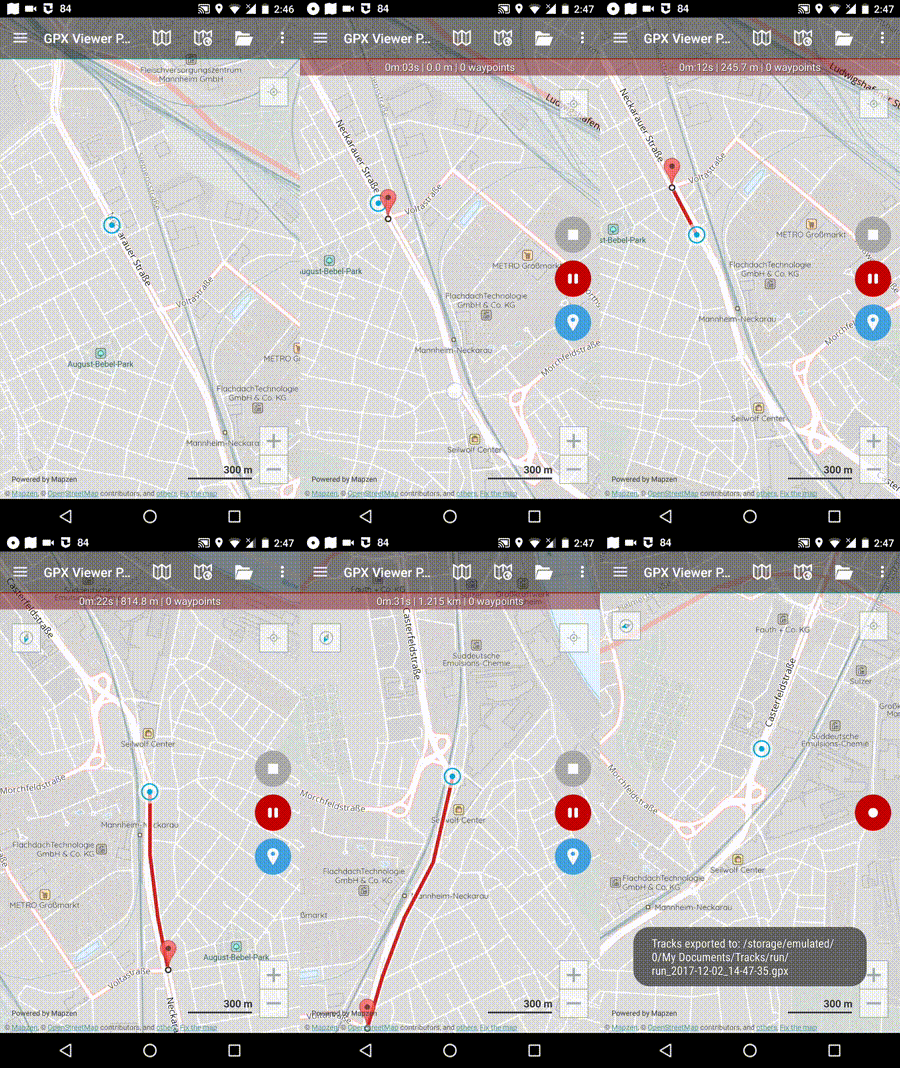
- Open left main menu and tap on Track recording button. This will show red recording button in the middle of right edge of GPX Viewer PRO screen.
- Tap on red recording button in the middle of right edge of GPX Viewer PRO screen.
- You can alternatively enable Follow GPS and Rotate map functions in left main menu to continuously move map to device position and rotate it according to device orientation. Also when you open left main menu and tap on Settings then on GPS you can enable or disable Rotate map according to GPS option. You can also enable or disable Move to lower part of the screen which will enable or disable moving position on map to lower part of the screen.
- When you want to stop recording track tap on gray stop button in the middle of right edge of GPX Viewer PRO screen.
- Then dialog with entering name for track will be shown. Enter track name and tap on OK button.
- Next navigate to directory into which you want to export track and tap on Confirm button.
- Next you can enter track file name and description and file type (gpx or kml) and tap on OK button.
- It will export your track to desired file format and directory and show path to this file in short text message at bottom of the screen.
Below is video showing following instructions above:
